Tuesday, July 22, 2014

Building the Dishwasher Platform and Cabinet

Before counter top installation day, we had to build in the new dishwasher cabinet since that was going to provide support to a larger section of a much heavier counter material. This was a Nick project, though we collaborated on the best way to go about doing it.

A few months ago we cut out the end cabinet space and set the dishwasher in place, though not secured to anything. We did use it a few times, but had to be careful while loading because it was prone to tipping forward. Not a problem now that it's entirely built in.

Here's where we left off after the cabinet removal to make space for the dishwasher:


First we created a base. The floor where the cabinet was removed from was slightly lower than the tile surrounding it, so we evened that out by screwing down a thin piece of MDF board. On top of that Nick screwed down plywood to provide some height and an attachment point for the support frame.


Dishwasher fits on the plywood base, which overlaps onto the tile. Now it sits level.
In preparation for the dishwasher installation, we had to do some electrical work. We had a friend's stepdad, who is a contractor, help with this. Nick assisted so he could learn more about it as well. That project didn't really warrant its own post, but makes sense to mention it here.

The large range outlet to the right in the photo below used to be where the silver box on the lower left is, which is where the dishwasher would go. In order to get it out of the way and keep it more accessible, we moved it over about a foot to the right. The white cord with the yellow cap that's tucked into the wall above the silver box is the newly-installed direct power supply line to the dishwasher. You can see it in the photo above after the dishwasher has been hooked up. We left the cord long so we can pull out the dishwasher pretty far if we need to. 


Because this electrical work included sawing out parts of the drywall, we had to repair it. I spackled the area, but it still needs to be painted. I'm planning to do that before the end panel is secured in place. 


Now back to the dishwasher cabinet. Nick continued building what was basically a very sturdy frame,


Nick used the original counter top and a level to make sure the upper frame was flat so there wouldn't be any gaps or slanting when they set the new counter top. We were working with precise measurements, since we wanted to have a nearly seamless transition from the counter to the range, with little to no gap between the dishwasher cabinet end and the oven. Nick did a really fantastic job on this. Now that it's installed, the side edge of the new counter top and the dishwasher cabinet line up perfectly.

We still need to stain and finish the visible areas of the frame so it matches the rest of the cabinetry. Once that is done we can actually secure the dishwasher to the upper and side frame pieces with screws using the available anchoring holes.

Just about done
After all that, we'll be securing a detachable end piece in case we need to access anything back there in the future. We're also going to include a sound-muffling layer to make the dishwasher quieter.

Finally, here's a look at the entire kitchen with the new dishwasher cabinet frame in place. Next post will be about the counter top installation and finally some pictures of what it looks like now, which is absolutely stunning!

Ready for the new counter top to be installed

Saturday, July 19, 2014

Chicken Coop - Final Improvements

Way back in January I first posted about the improvements we began on the chicken coop that came with the house. That weekend we cleared the run of blackberry brambles, made some small improvements to the access panel to the coop, and painted a single coat.

Now, nearly 6 months later, we've completed the rest of the improvements we planned to make and finally have chickens. Here are the rest of the coop updates we made before bringing them home:


Nick cut a new door out of plywood, which was much more sturdy that the original. This new door also includes new hinges, a bolt that secures it shut at night, and a metal hook and screw eye to hold the door open during the daytime. When I went over the entire coop with a second coat of new paint, I also painted the new door:

New chicken feeder and fount
Nick did the same for the access door to the nesting box at the back of the coop. It didn't need to be a thicker wood so we re-used the existing door, but we did add hinges. Before it was just screwed in and you pushed it aside to gain access, with no way to lock it. Like the coop door above, there's a new bolt mechanism to keep this side more secure as well.


I painted this as well. You can see how well it blends in below. 


Now at quick look at the inside:


The inside was pretty dirty, with chicken droppings and old shavings on the floor and nesting box. I swept out all of the shavings and removed the existing cloth ceiling from the top of the nesting box, replacing it with plywood. After the floor was clear, I pulled out the linoleum lining the coop and hosed it down outside. Once dry and placed back in the coop, I put a layer of fresh shavings down.

While I worked on cleaning and painting, Nick focused on outer security. There were some areas that weren't as secure as we'd like, including the door to the run. The door was surprisingly wobbly at the top and bottom and had only one bolt closure in the middle. To strengthen the door, Nick reenforced it by screwing lengths of wood around the entire perimeter. No more wobbly door. He also added a second bolt closure and changed the location of the original, so now there's one down lower and one near the top.


One all the door reinforcements were added, I painted it and the frame of the roof. We also added a door handle. In addition to the door, we did some spot securing of the wire around the run. This was an incredibly well made run and coop. The wire edging was dug down into the ground at least 6-8 inches. The chickens have dug down about that far in a couple areas and the wire continues even deeper.


I also cleaned the run and coop roofs by hosing them down, removing all the leaves and gunk build up with a power wash. That was around the time I added the new and extended gutter and added rain barrel.

Ready for chickens
And the before shot:


Tuesday, July 8, 2014

Backyard Before and After: Part 1

The yard is still a work in progress and there will probably end up being like 30 before and after entries, but this is the first one complete right now: the southwest corner where you enter the backyard when following the sidewalk around the garage. 

This is what the area looked like when we walked into the backyard on a visit at the end of May 2013:

May 2013
I used some of these photos on a 'before and after' post last year to show how fast things grow in Portland in the spring, since it was only a month between the shots above and below.

Besides filling with weeds, this area became overgrown with the blackberry plants that were there, and all the offshoots that grew from them over the time the house was vacant. There were also about a dozen small cherry trees growing here. We assumed they popped up from birds dropping seeds from cherries picked off a neighbor's tree next door. While we'd like a cherry tree, that neighbor's tree is full-sized. A dwarf cherry variety would be a must for our yard space, so these trees had to go.

April 2013
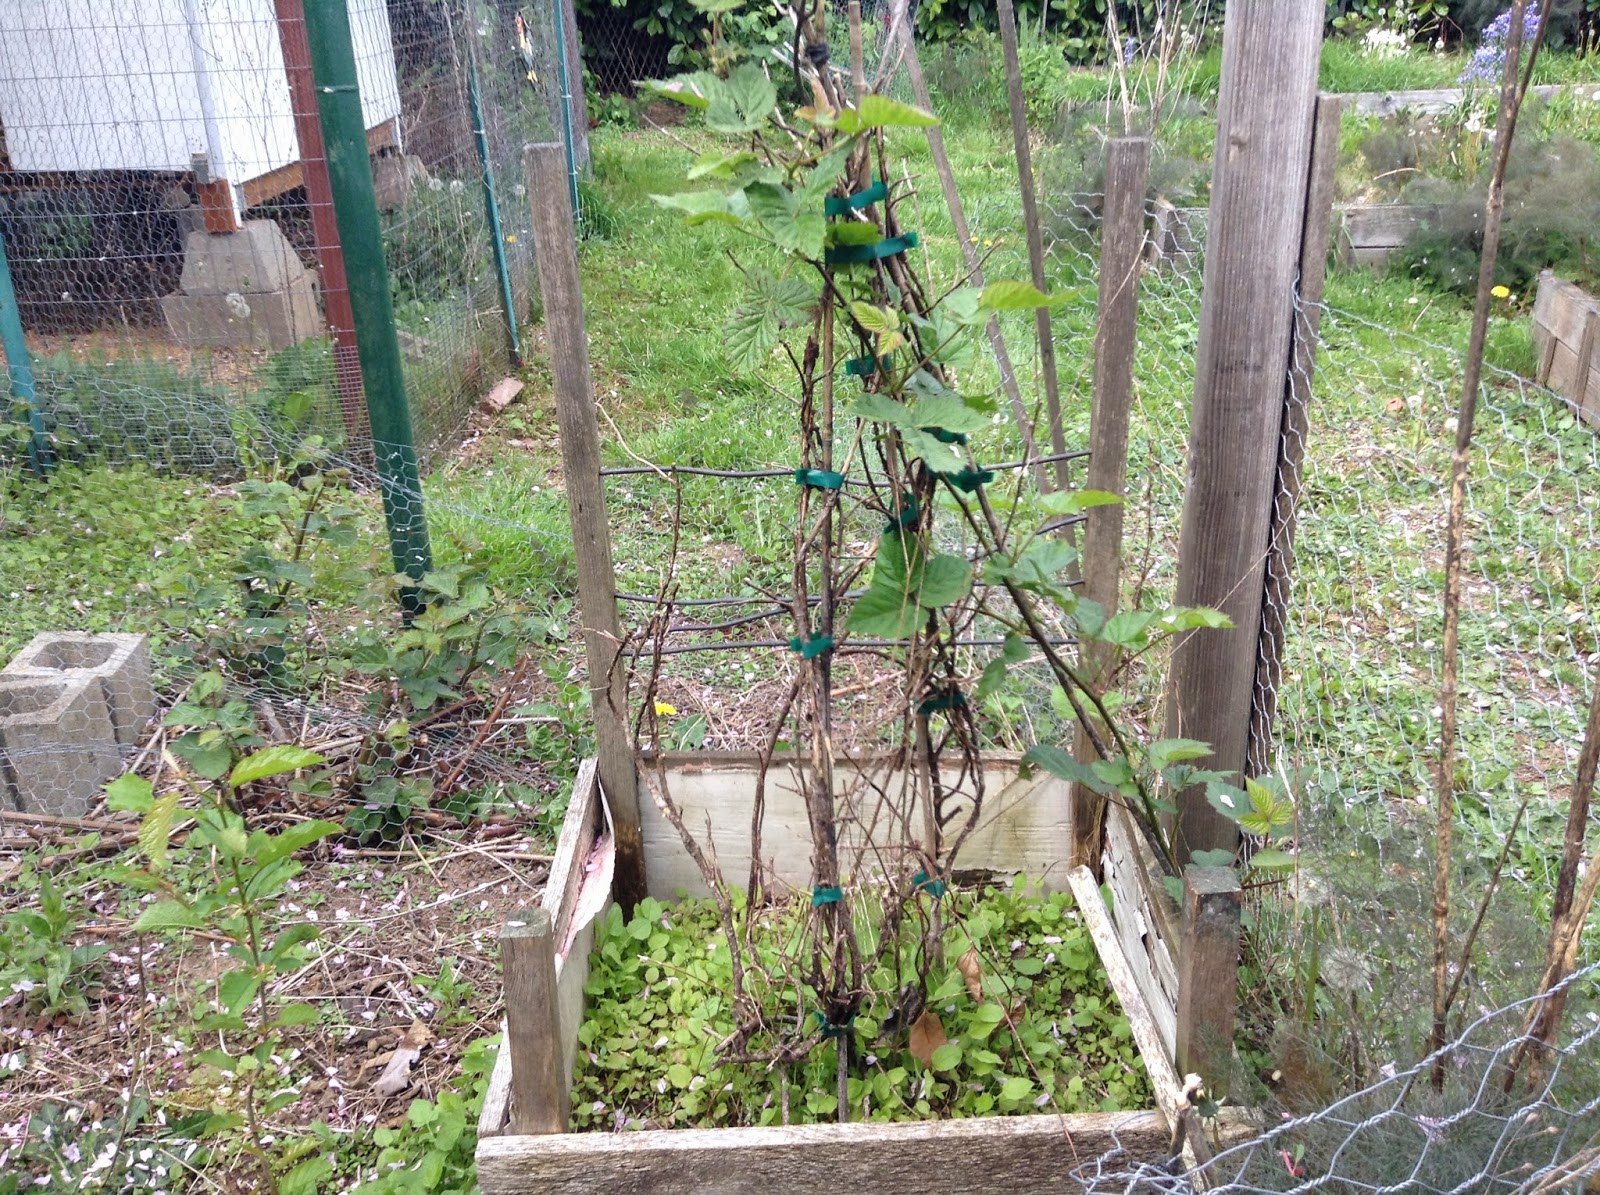
During some of our summer visits and soon after we moved, we started clearing this area. I took down the chicken wire fencing between the wood fence and around the clothesline. I cut down the cherry trees to dry for firewood and pulled out the roots. We never figured out what the plant shown below was since we never saw it flower or fruit, so we pulled it out and removed the wooden box and trellis.

April 2013
Over the winter I cleared out remaining fence scraps, concrete blocks and other debris, pulled weeds, and tilled the area along the fence, as seen below.

January 2014 
While the blackberries were still dormant, I transplanted them. Added trellises, pulled weeds, tilled the entire area and spread grass seed once it started getting warmer. And here is what it looks like now:

June 2014
Yeah. HUGE difference.

In the earlier photos you could barely see that there were pear trees in there. Nick did a lot of pruning since they'd been neglected for so long, so they are all nicely-shaped now and all growing an incredible amount of fruit.

We definitely wanted to keep the blackberries, just a little more controlled and deliberately placed. Fortunately the main plant was already in a great location next to the clothesline, so we kept it there, just adding a trellis so we could train the branches to grow up instead of out. It looks much cleaner, takes up less space, and the berries will be more easily accessible for picking from any side.


I wanted to keep a few of the smaller blackberry offshoots as well to increase the fruit yield, so I made a plan to transplant them while still dormant to a new location along the fence, selecting the largest of the offshoot systems and composting the rest. I attached the trellises along the fence area between the two pear trees and transplanted those root systems. These trellises and the trellis attached to the clothesline we found in other areas of the yard, so those were existing. We always try to reuse or re-purpose existing items for projects before buying anything new.

As you can see below the newer plants are still fairly small, but should get bigger and bigger every year, each eventually getting as big as the mother system above. Like our other fruits and berries, I'd like to have enough blackberries to eat some from the bush, use some fresh picked for baking, some to freeze, and some to can as a compote, probably making a plum/blackberry mix to make them go further. We're really looking forward to being able to add stuff we grew ourselves to our meals year-round!


And here's another view of the same area, before and after:

May 2013
June 2014