 |
| Attaching door side hinge |
Below is a stock photo of the type of hinge we used for the cabinet doors. This kind was required for the inset door look we were going for because it attaches entirely inside of the cabinet, remaining completely hidden. The previous cabinet doors were overly with hinges on the exterior.
These hinges are actually two separate pieces: the part that attaches to the door itself then clips to the part screwed into the interior wall of the cabinet base. To remove the doors you can simply unclip instead of unscrewing either. The hinges are even adjustable: after installation you can use two adjustment screws to move the cabinet doors slightly up or down and left or right, to easily center them within the door frames.
Only three of the doors were able to be installed right away because this inset hinge type needed to be flush to the cabinet door opening. For the remaining seven we had to build out the interior space in order to attach the hinges correctly, and there were a variety of differences in the space and how best to go about attaching the cabinets so the process wasn't always the same. We know about this going in, so we allotted for it in our installation time. This was one of Nick's contributions and he did a great job. Two of the seven built-in hinge bases shown below.
We added hardware as we went along. After I finished varnishing a pair of doors during the day and returned them to the kitchen, Nick would attach the cabinet door handles in the evening. We used Ikea Lansa stainless steel cabinet door handles. Nick did a fantastic job at this as well.
 |
| It looks crooked in the photo, but it's straight! |
And now the first internet look at how the cabinets turned out and what the kitchen looks like now:
 |
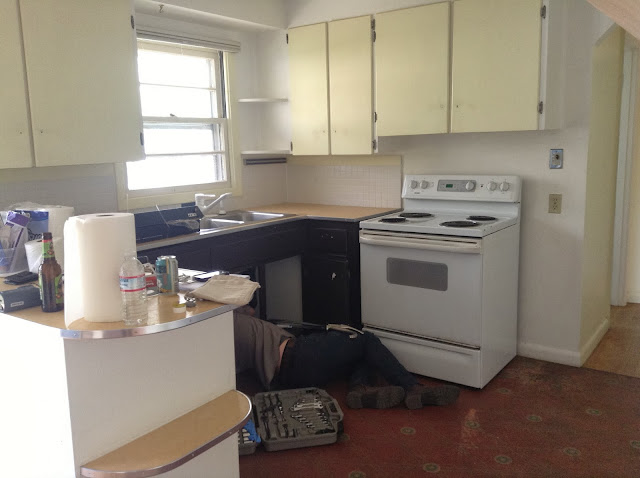
| And the 'before' photo again |
After the dishwasher installation we can continue the renovation with ordering a countertop, removing the existing white tile backsplash, and after the countertop is installed, putting in a new backsplash. We were waiting to decide on a countertop color until seeing the cabinets entirely finished, to be able to get a better feel for the space and what would look best. All along I've been saying black would look best and after seeing how it turned out, Nick now agrees. As of right now the backsplash plan is stainless steel, but that could change if we find something we like better.
By the way, the photo below is nearly all of the garbage we generated during the remodel so far. Keeping all of the original cabinet bases made a huge difference. Instead of those going to the landfill, the only waste generated in order to reuse them were two small cans of paint stripper and newspapers used for collecting the paint/stripper remnants. I gave away all of the original cabinet doors and hardware by listing them on Craigslist's Free section, so those were reused by someone else. Add a few more sanding disks to the pile of wood below and that's about all of the trash created so far. Of course removing the countertop and backsplash will add to that considerably, because those can't really be re-used, but it's still not bad for such a significant kitchen makeover.


Looks AMAZING! Bravo! I am so inspired by your sensibilities and patience. What a beautifully modern and purposeful aesthetic. Congrats!
ReplyDeleteThank you!
DeleteBeautiful post. Really enjoyed reading it from start to finish. Please visit to know Doors paint stripping and refinishing
ReplyDelete