Showing posts with label house. Show all posts

Saturday, August 9, 2014

New Countertop Installation!

This post is long overdue, as we've had out new counter top for about two months already. Several weeks after the template was made, the old counter was removed and the new one installed, along with the new sink and faucet!

Removal took just a few minutes:


Then the two guys brought in the new counter top. There are 2 pieces so just one seam.


IT'S SO SHINY

Once the two pieces were in place, they had to secure them, seal the seam, caulk around the underside where it meets with the cabinets, and of course seal in the under-mount sink.


Once done with all of that, they removed all their equipment and cleaned up.


We saved almost $500 on the installation cost because Nick could unhook the pipes and water lines from the sink and reattach them once they were finished. Seriously. That's all he had to do. Then because of the drying time needed to make sure the sink attached securely, we couldn't run the water for 24 hours.

Here's a close up shot of the new sink:


Love, love, love the under mount sink. And the new faucet with integrated sprayer is perfect.   


And of course here is a before shot to compare:

Old sink and faucet
Old counter top
Close up of the counter over the dishwasher, compared to the old counter length seen above:


New counter top
Original kitchen
And this is the backsplash we've picked out:


Monday, June 2, 2014

Preparing for the New Countertop

We finally got around to starting the process for the new counter top. With the dishwasher in place, we knew how far the new counter edge will need to extend and get a more accurate measurement. So we had a guy over to take down dimensions and get us a couple estimates for a few different types.

Once we decided on a material (granite, Stonemark) and a color/pattern (Black Pearl), we made the order. I was really nervous, because this is probably the most important decision we've had to make about the house design so far. It's an expensive project, sure, but the pipe replacement was more. But that you can't see, while the counter top is basically the centerpiece of the kitchen and dining room. I the color wasn't right it could throw off our whole design plan.

Between making the order and having the template made, we had to decide on a new sink. We definitely wanted an undermount sink, but didn't want the standard undermount that was offered with the counter top installation package.

We looked at Home Depot and online and found the right shape, size, and features that we wanted in this Vigo undermount kitchen sink:


The thing we liked most about this was the low center divider, which you can see in the stock photo above. We never fill the sink to capacity and the lower center will make it easer for cleaning large items or moving things between the two basins. And yes, we actually bought our kitchen sink on Amazon. 

When looking at Home Depot, we really liked this drain and strainer on Elkay sinks, and were able to find and buy those separately:

Even though we had purchased a new faucet for the house last year, we agree that this was a good time to make a faucet upgrade as well. We really liked the way larger arch faucets looked and researched those, finally deciding on Moen Kleo faucet with integrated pull-down sprayer:


We had everything picked out and on site when the counter top company sent the guys to take the final measurements and make the template:


In order to get the right size template for the new counter, they removed the existing backsplash, which you can see has been done in the above photo. 

Below is a reminder of the old backsplash and also what the old counter top looked like:


Post with photos of the new counter top coming soon!

Sunday, May 18, 2014

Plycraft Lounger Touchups

I occasionally see this same chair listed on craigslist or ebay for $500-1000, so we got a such a great deal for paying just $300. There were a few scuffs on the wood here and there, but nothing too bad. Here are a couple shots of the blemishes on there when we bought it:


With the exception of one small edge area where the wood was slightly damaged, the rest of the scuffs just needed to be buffed or sanded out. This was a quick project. I systematically worked my way over each section of the chair, using a fine sand paper to lightly remove or minimize the surface blemishes, then went over the entire thing with a nice wood oil. This was one of my rainy day projects at some point over the winter, just hadn't gotten around to posting about it.

Here are some shots of the chair post-clean up and oil polish:


So beautiful. It looks nearly new now. What surprises me is what great condition the leg bases are in. Compared to the wood parts, there's not as much you can do about improving those once damaged. Common problems I see on so many of the same loungers for sale out there are the metal is rusting significantly, the black base cap and/or an end piece or two is missing, but ours isn't missing anything and there's minimal tarnish on the legs.

Friday, March 28, 2014

New Water Heater & (Surprise) Furnace

It was only a matter of time before we needed to hire an outside company to come in on one of our planned projects. This is the first! The pipes in the house were galvanized steel and needed to be updated. There was of course absolutely no way we were going to try replacing the water pipes within our walls and crawl space by ourselves.

We received a referral for re-piping specialists by the company providing an estimate for a new water heater. Originally we were thinking about getting a tankless water heater instead of the traditional tank, but eventually decided against it. We have never run out of hot water with a regular tank, so needing endless hot water wasn't really an issue. We are going with one fueled by gas instead of electricity, which will be more efficient, and it's placement is right next to the furnace, so it's no longer taking up valuable space. Another benefit to a regular tank is extra water storage in the event of an emergency.

Here is the the original electric water heater and it's location in relation to the furnace (And ugly screen door that no longer exists:


Goodbye old water heater
And hello new water heater:


It fit perfectly between the furnace and the brick exterior of the fireplace, where there was even an existing exhaust port through which to run the additional duct work.

We thought all went well as they finished and cleaned up that Friday afternoon...until later that evening when temperatures dropped and the furnace kicked on for the first time. I heard what sounded like a door slamming in the garage. After turning on the light, then a fuse blowing, leaving me in darkness, I saw an orange glow and flames coming from the lower section of the furnace. It was on fire.

The small amount of gas that ignited burned out quickly, with Nick blowing out the remaining flame. He pulled into the driveway right when this was happening, and I had opened the garage door to air out the smoke smell that immediately filled the air.

Thinking this was probably related to the plumbing company tapping into the gas line shared by the furnace, we called them and the owner came to check it out and take some pictures on Saturday morning. Then his furnace guy came by a few days later and concluded that yes, it probably was something they did on installation of the water heater - likely not reattaching something properly. So the next day he was back with a brand new furnace for us. The original furnace was older and would have cost as much to repair as install a new one. Luckily this was all covered by the plumbing company. So instead of just a new water heater, we ended up with a new furnace as well. With all of the other necessary purchases on the house this year, we figured we'd use the old one for the winter and replace it in the fall. Now we don't have to! With this upgrade, every single appliance in our house - from furnace and water heater to toaster oven - is brand new in the past 6 months.

And I can't believe I forgot to take a picture of the old furnace post-fire, but it really wasn't that bad, Just a little charring on the metal and burned plastic coating on some wires. But here's the new pair:


And now the corner where the water heater used to be is much more open. Eventually we'll be finishing the garage and this will be a nice area of built in (upper and lower) cabinets with space for the mini-fridge, new sink and counter tops.


Friday, March 7, 2014

Cabinet 'Demolition' & Dishwasher Installation

We've been so busy with other things that progress on the kitchen has been on hold. Everything that is left to do is dependent on other things being done, and we're finally on our way to completing them now that the water pipes have been replaced. In addition to replacing the pipes, the workers also installed our new dishwasher. So in preparation for that, we had to do a little "demolition" to make room, since it wasn't just that the house didn't come with a dishwasher, it has never HAD a dishwasher.

Like we did with the refrigerator, we chose a smaller one to better fit the kitchen. That way our needs are met with minimal disruption to the flow and it doesn't feel like we tried cramming too much into the space. After not having a dishwasher for years (4+ for me, 12+ for Nick), just having one at all will feel like a luxury! We'll probably just run a load or two per week and continue hand washing pots and pans, since we use those almost daily.

After much research and reading consumer reviews, we decided on this Frigidaire 18" dishwasher in black. We decided against a stainless steel exterior in order to allow the dishwasher to blend in more with the lower cabinets rather than stand out.

 
We actually ordered this back in January and it's been in the garage since then. Once we set a date for the water pipe replacement and dishwasher installation, it was time to do "demolition," with demolition in quotation marks because there was really very little that needed to be done. Nick took on this project:

Removing the cabinet end, which was just this half-wall thing 

After end piece removal
We couldn't extend the existing base to create the wider dishwasher platform because it was too tall. We needed something at a height about half that. So we removed it to get down to the flooring:


The newly opened area under the counter top. You can see where we moved the range plug, which would have been in the way directly behind the dishwasher.


And a shot of the dishwasher temporarily in place:


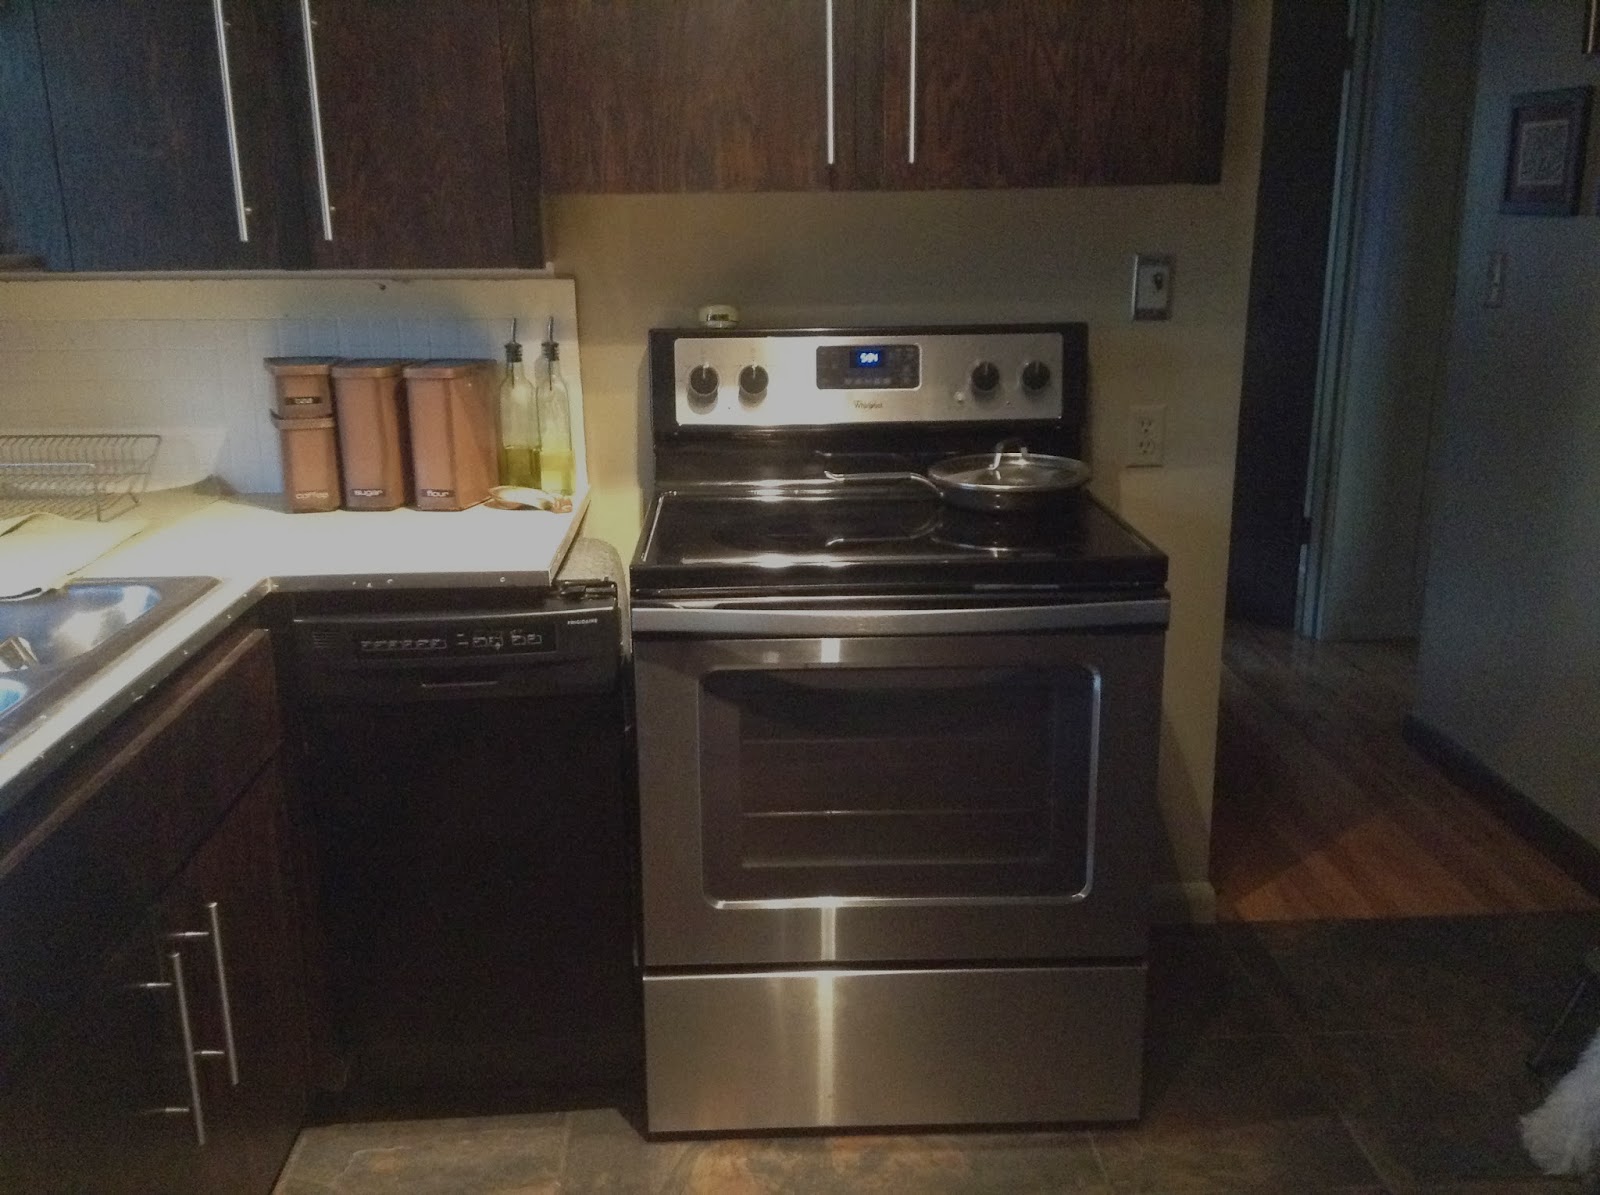
We still need to build a little platform for it to sit on, to bring the top of the dishwasher up to where it needs to be in order to attach to the underside of the future new counter top. Here's an 'after' shot of dishwasher and range together, pre-platform for dishwasher:


The new counter top will extend across that gap shown above and nearly be a nearly seamless transition to the range. We are well on our way to finishing the kitchen now. We waited on the dishwasher installation until we had the new pipes. We could not get accurate measurements for a new counter top until the dishwasher was in, so now we can get that measured and ordered. Then we can start removing the old back splash, and once the new counter top is installed (another job we're not doing ourselves), we can put in the new back splash. 

Saturday, February 8, 2014

Gainey Pots and Indoor Plants

With south-facing floor-to-ceiling windows and such a big living room space, adding a few indoor plants was an obvious must. Especially after scoring two large Gainey pots on Craigslist. I wanted to have at least one fruiting tree, since our entire space is so much about functionality. The first was an easy choice - a lime tree!

After doing some research on different varieties and finding out which grow best indoors, I decided on a 3-year old Bearss lime tree, which we purchased back in early October from Four Winds Growers. It's a seedless variety, and when ripe we'll be able to pick limes right from the tree in the living room and add to a rum and coke, Nick's famous tacos, or just a glass of water.

It began blossoming in mid-January, and here's a picture of it on February 1st:


I selected the matte black planter for the lime tree, which is my favorite of the two Gainey pots. It looks a bit funny because the tree is only about 2 feet tall right now, but it will definitely grow into it. The Bearss lime is a semi-dwarf variety, which means it can get up to about ten feet tall. We'll probably let it grow to around the top of the window. And there's a plant caster with wheels underneath the pot to make it easier to move if needed.

I was really surprised at the number of blossoms on such a small tree. Obviously they won't ALL turn into limes, but there are easily over 50 of them on this little guy already. Here's a closer look at the top cluster:


I liked the idea of having the window framed by plants on each side, and really wanted another fruit of some kind that wouldn't do well outside here (at least not year-round). We considered avocado, pomegranate, and another variety of citrus, settling on a clementine tree. Finding true clementines in the store is sometimes difficult. I would like an avocado tree, but there are several cold-hardy varieties that grow just fine outside in the northwest, so that's what we will get if/when we decide to get one of those.

The grower where I found my lime tree doesn't sell clementines, so I just looked around for a good deal. Once ordered, the clementine tree took awhile to arrive because of a snowstorm in the midwest, and it was pretty much dead on arrival. The company does have a replacement policy and did send me a new one, though it seemed to take threatening to contact my credit card company to reverse the charge to hear back from them, claiming they hadn't gotten my earlier email. So I'm not going to name the company I bought from. Also they've sent me so many spam emails since my purchase, while I've had zero from Four Winds.

Still, once they sent my replacement clementine it arrived quickly AND was blossoming, which was great! It's a 5-6 year old plant and quite tall:

We also have a little aloe plant at the base of the clementine
You can see in the above photo the second Gainey pot, similar to the other but a glossy black instead of matte. I don't like the shiny finish as much as matte, so from most views within the room it's partially hidden behind the Plycraft chair.

The trunk and branches are pretty thin but will thicken up over time. There was a pretty good-sized unripe clementine on one of the branches upon arrival and it made that branch droop over a lot, so I'm not sure how it will handle mass fruiting. This one has quickly gone from having a few blossoms to, like the lime tree, having at least 50 in clusters all over.

Closer look at one side of clementine blossoms
I've been pollinating both of the trees with a small paintbrush since there aren't any bees around to do it. We'll see over the next few months how well that worked.

The final indoor planter we needed to find an inhabitant for was the pot and stand we bought from Modernica. With the two larger indoor pots being used for fruit trees, this smaller one was perfect for a purely decorative plant. We perused the indoor/tropical section of Portland Nursery and fell in love with this dracaena marginata, or Dragon Tree. It's the 'colorama' variety, so instead of solid green fronds it has green and pinkish-red ones. Since this matte black pot matches well with the matte black Gainey planter, those are the most prominently featured within the living room. The dragon tree and its beautiful pot and stand looks perfect placed between the fireplace and the hutch.


We also recently found 2 smaller brown Gainey pots at Hawthorne Vintage in Portland, but those will be used outside on the patio, plants to be determined.


Thursday, December 26, 2013

Additional Kitchen Detailing

I completed a variety of simple painting projects in the kitchen over a few months, finishing the most recent ones just a few weeks ago after the cabinets were finished. Here is the best shot I could find of the original kitchen window area:


This would be a good place to point out the old faucet in the above photo as well, which Nick changed out on our first weekend at the house back in April (2013).

Old faucet removed
New faucet installed. Planning under-mount sink with new counter

Back to the kitchen window area. After removing the cabinet base paint and completing the stain and varnish, I painted the wall above the sink and around the window using the same 'Soft Suede' color as the rest of the kitchen and house. Then I painted the kitchen window trim with the same brown we used on the large living and dining room windows:

We also permanently removed the blinds shown in the original photo at the top of this post

Then after the doors were complete I used the same brown as the window and floor trim to paint the underside of the upper cabinets. We chose not to strip the paint and stain this area because 1) it was an awkward area to reach and 2) you can't really see it so why spend all that time (it would have taken several days of paint stripping). The original white paint on the underside really stood out compared to the finished dark uppers:

Preparing to paint
After painting

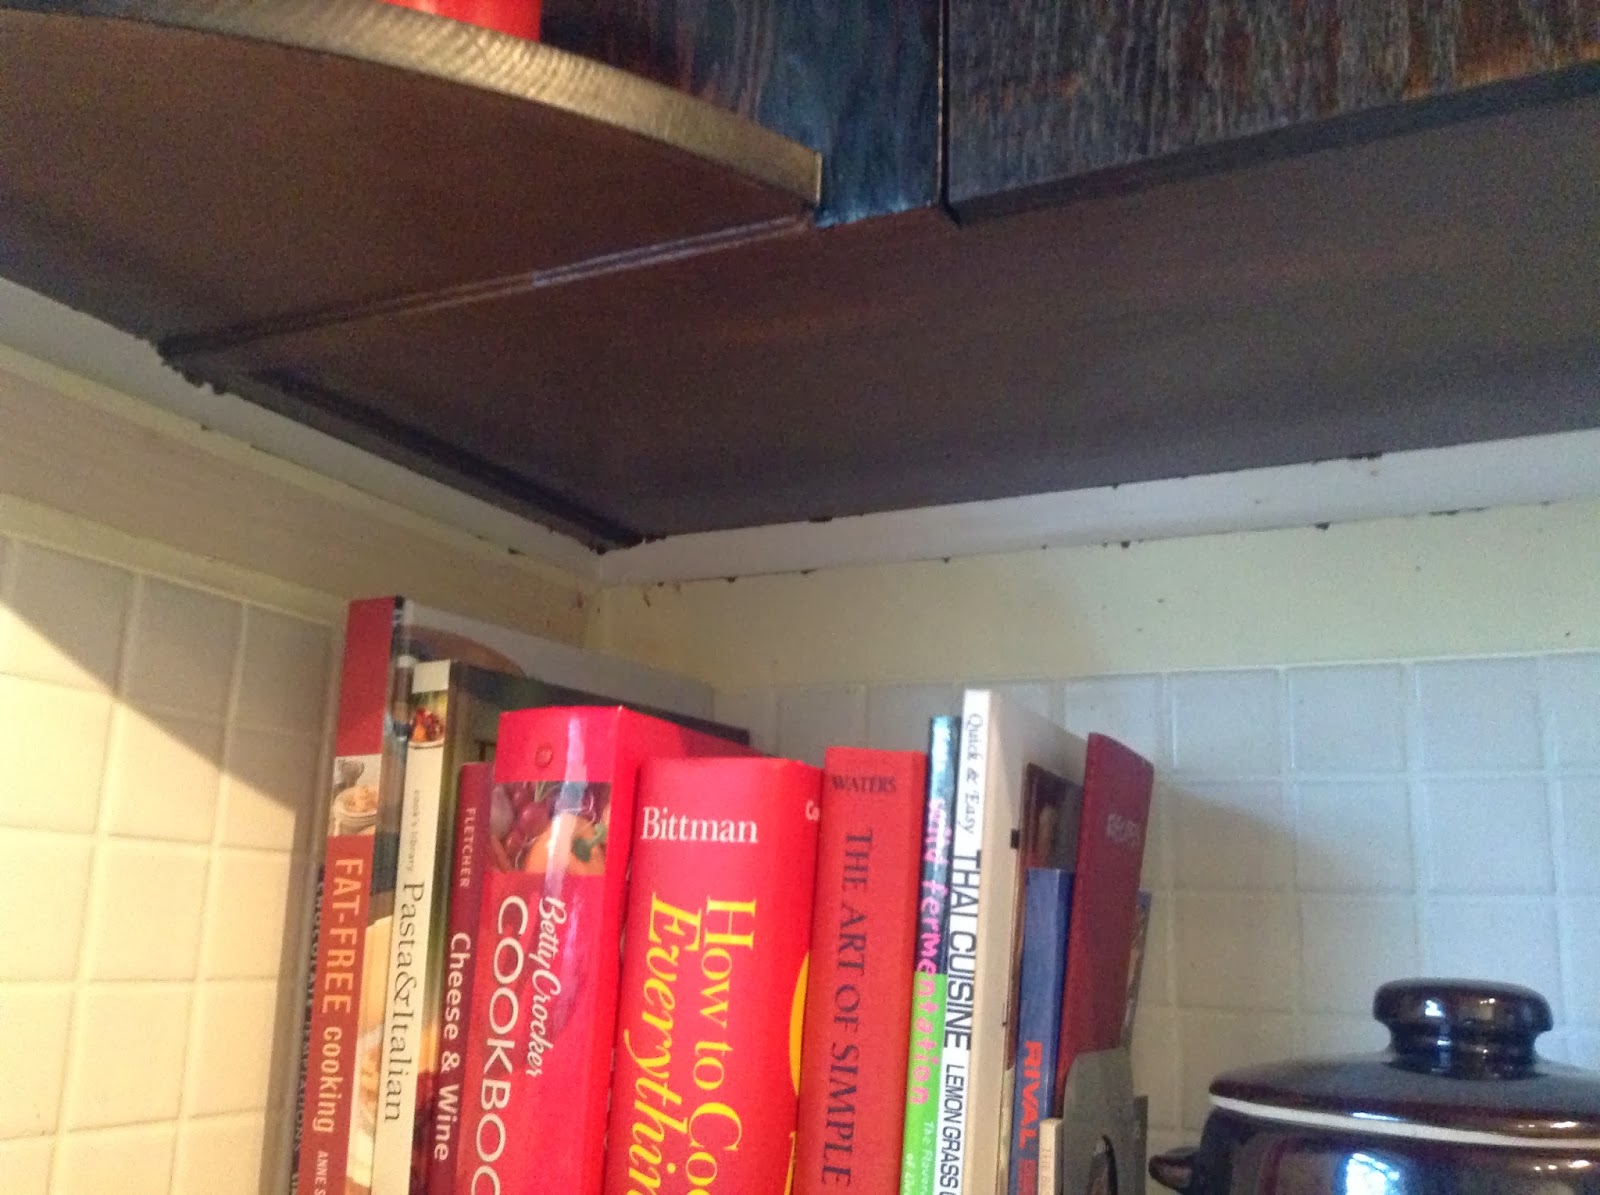
You can tell it's paint if you look closely, but at a glance or while seated at the dining table it looks similar enough to the stain to pass. Either way it's much better than the original white. It's a little sloppy along the wall, but that will eventually be covered by a new backsplash, one which will go all the way up to the cabinets instead of stop a few inches below.


We also had to decide what to do with the trim around the cabinets. It was white, which might have been okay to leave as is since it matched the ceiling, except that the paint remover used on the cabinets leached over in some areas, which created some discoloration and crackling. After discussing a few options we simply decided to paint that trim the same brown as the window and floor trim, so I sanded along the whole thing to even out the areas with the crackling texture issues and painted over it.

Also painted the edge trim where it meets the wall
Due to the lights, the trim above stands out much more in the photo than it does in reality.

These are all pretty small details individually but overall they add much-needed finishing touches to the kitchen and provide cohesiveness by using the same brown for all the trim throughout the rest of the open living space. In fact, a few months back I similarly painted the trim above the fireplace because it looked funny as a bright white, but we opted to paint the trim to each side to blend with the wall color.


One final simple kitchen improvement was replacing the lighting. The original was this small, three directional halogen light. The same light was the dining room as well.


We looked around for track lighting we liked and settled on this Ikea light with five adjustable directional lamps. This helps spread light everywhere from the 'peninsula' on the left, the sink in the center, and right to the stove. Eventually we'd like to have recessed lighting, but this was a cheap way to improve lighting in the kitchen for the time being.