The overall goal for the house is to make it feel more modern and open. One of the things we decided early on needed to happen was removal of these two rounded shelves shown below. Located on the end of what I like to call 'the peninsula,' they protruded 8 inches into the walkway between the dining room and kitchen, and we would rather have the space than the shelves. And clutter-free living means getting rid of such unnecessary areas where junk tends to collect.

In the above photo, I've already removed the metal edging from both and taken the laminate off of the bottom shelf. It's the same terrible laminate as the countertop.
Removing these were trickier than we first thought they'd be. It turns out that the shelves were not attached independently to the peninsula, but were built-in: they were extensions of the two drawer bases on the other side. My tools for this job were a crow bar, several chisels, and a drill.
 |
| Bottom shelf gone! |
First I tried just using the chisel and hammer along the peninsula, but that wasn't enough to get through the wood. I ended up having to drill holes as close as I could get to the peninsula, which means that after hammering and chiseling along the edge where I had drilled I was left with dozens of small holes I needed to fill with spackle. No problem.
 |
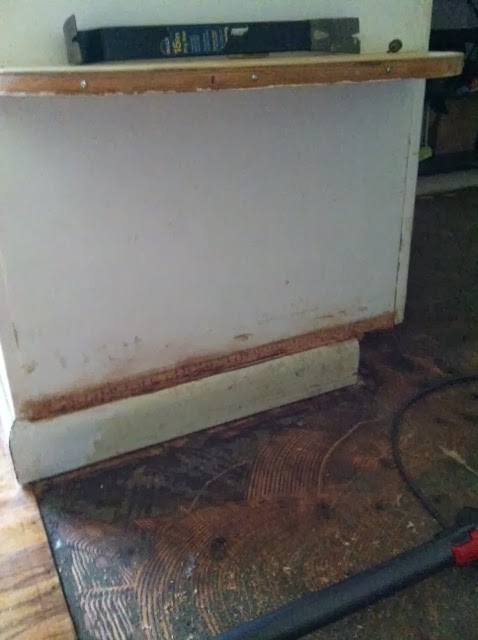
| Both shelves gone! |
It's hard to see in the above photos, but they actually cut out the upper area of the trim to fit under the bottom shelf. When I filled the gouges with spackle, I also carefully sculpted spackle onto the trim to make it look like it was whole across the whole section. It may have looked ok uneven, but if I'm going to do all this work, I might as well do it right.
The last thing that needed to be done to get the true feel of the final dining/kitchen layout was cutting back the rounded countertop edge above where the shelves used to be. When we replace the countertop, we are only going to have the edge extend about an inch or so, whatever is standard. Below is where I drew a line and cut the counter top with a circular saw. After removing ~7 inches from the end of the counter, I was able to move the refrigerator over because the door was now free to open entirely without hitting it.
 |
| Notice the new floor! |
With a single coat of paint on and the shadow of the counter top gone, I could more easily see where I still needed to fill and sand again, so I did that:

And then painted another few coats to finish both the upper section and the trim:

So much better than the original! Nick still needs to write his kitchen floor post, but you can see above what that looks like. And you can see a sneak peak at what the cabinets are looking like now compared to below...

No comments:
Post a Comment