Showing posts with label paint. Show all posts

Saturday, July 19, 2014

Chicken Coop - Final Improvements

Way back in January I first posted about the improvements we began on the chicken coop that came with the house. That weekend we cleared the run of blackberry brambles, made some small improvements to the access panel to the coop, and painted a single coat.

Now, nearly 6 months later, we've completed the rest of the improvements we planned to make and finally have chickens. Here are the rest of the coop updates we made before bringing them home:


Nick cut a new door out of plywood, which was much more sturdy that the original. This new door also includes new hinges, a bolt that secures it shut at night, and a metal hook and screw eye to hold the door open during the daytime. When I went over the entire coop with a second coat of new paint, I also painted the new door:

New chicken feeder and fount
Nick did the same for the access door to the nesting box at the back of the coop. It didn't need to be a thicker wood so we re-used the existing door, but we did add hinges. Before it was just screwed in and you pushed it aside to gain access, with no way to lock it. Like the coop door above, there's a new bolt mechanism to keep this side more secure as well.


I painted this as well. You can see how well it blends in below. 


Now at quick look at the inside:


The inside was pretty dirty, with chicken droppings and old shavings on the floor and nesting box. I swept out all of the shavings and removed the existing cloth ceiling from the top of the nesting box, replacing it with plywood. After the floor was clear, I pulled out the linoleum lining the coop and hosed it down outside. Once dry and placed back in the coop, I put a layer of fresh shavings down.

While I worked on cleaning and painting, Nick focused on outer security. There were some areas that weren't as secure as we'd like, including the door to the run. The door was surprisingly wobbly at the top and bottom and had only one bolt closure in the middle. To strengthen the door, Nick reenforced it by screwing lengths of wood around the entire perimeter. No more wobbly door. He also added a second bolt closure and changed the location of the original, so now there's one down lower and one near the top.


One all the door reinforcements were added, I painted it and the frame of the roof. We also added a door handle. In addition to the door, we did some spot securing of the wire around the run. This was an incredibly well made run and coop. The wire edging was dug down into the ground at least 6-8 inches. The chickens have dug down about that far in a couple areas and the wire continues even deeper.


I also cleaned the run and coop roofs by hosing them down, removing all the leaves and gunk build up with a power wash. That was around the time I added the new and extended gutter and added rain barrel.

Ready for chickens
And the before shot:


Thursday, December 26, 2013

Additional Kitchen Detailing

I completed a variety of simple painting projects in the kitchen over a few months, finishing the most recent ones just a few weeks ago after the cabinets were finished. Here is the best shot I could find of the original kitchen window area:


This would be a good place to point out the old faucet in the above photo as well, which Nick changed out on our first weekend at the house back in April (2013).

Old faucet removed
New faucet installed. Planning under-mount sink with new counter

Back to the kitchen window area. After removing the cabinet base paint and completing the stain and varnish, I painted the wall above the sink and around the window using the same 'Soft Suede' color as the rest of the kitchen and house. Then I painted the kitchen window trim with the same brown we used on the large living and dining room windows:

We also permanently removed the blinds shown in the original photo at the top of this post

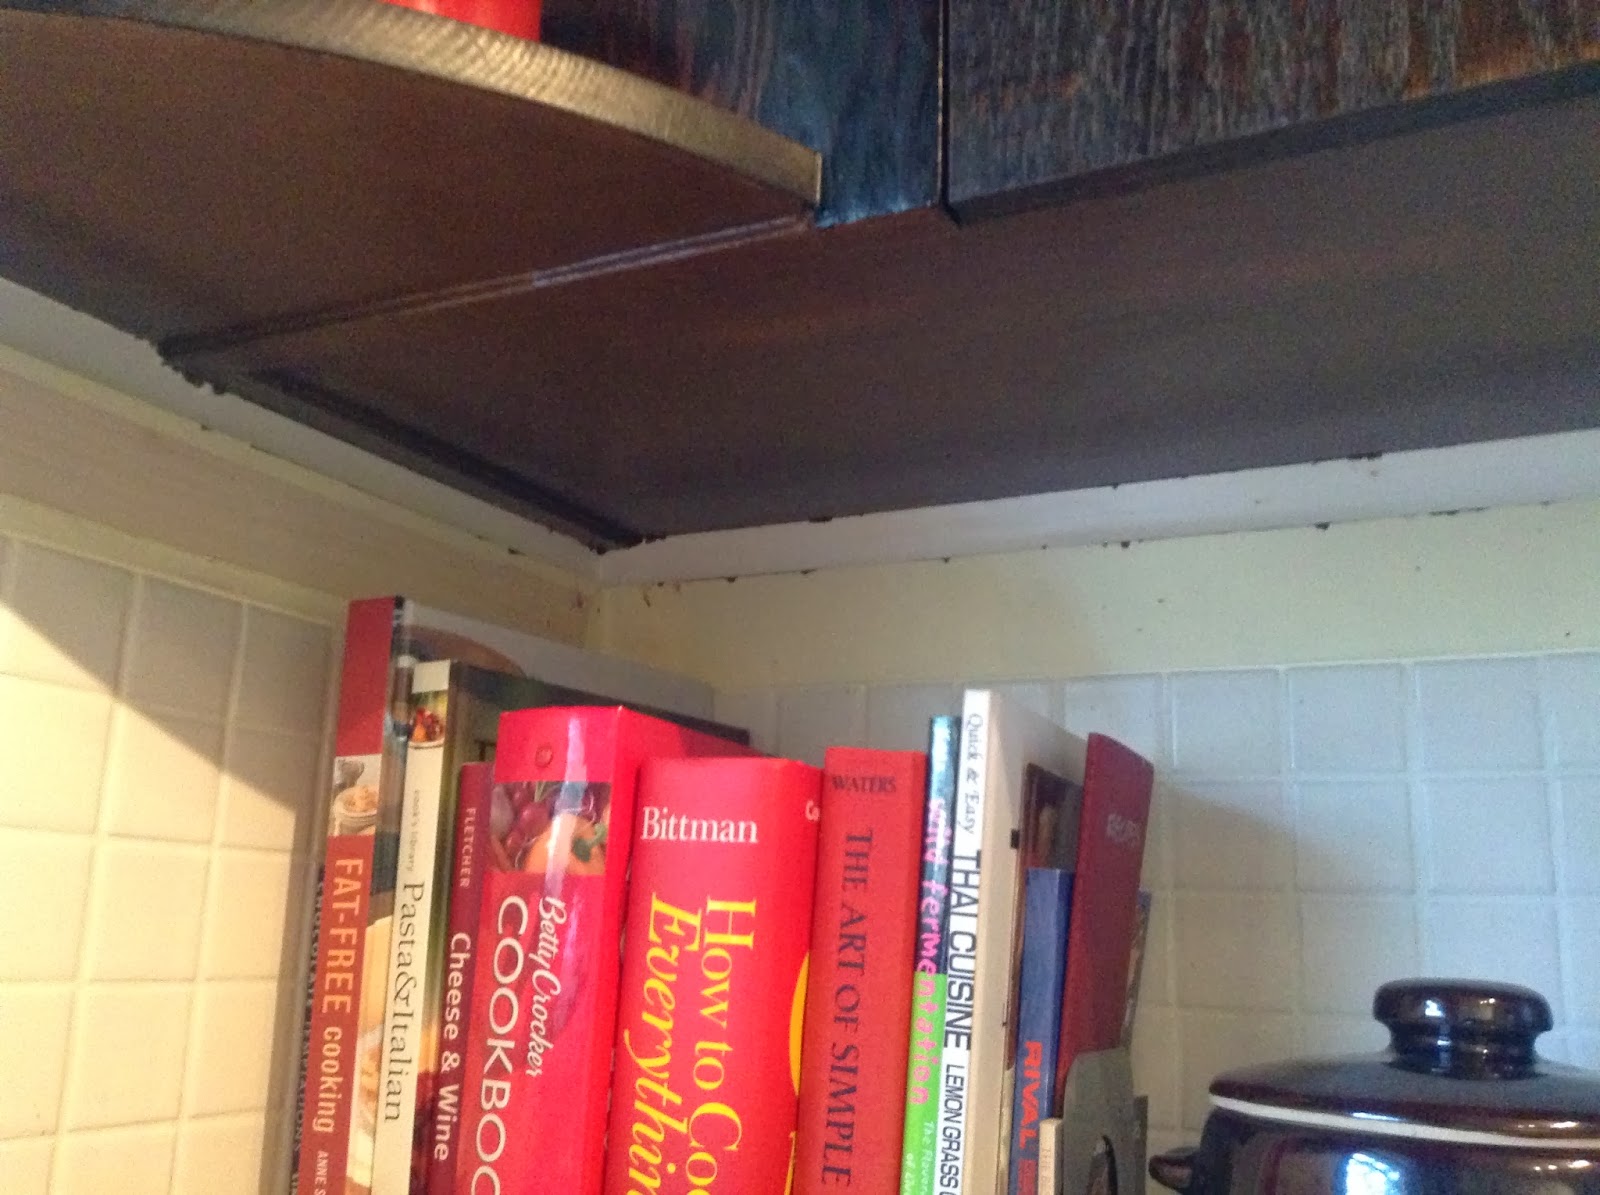
Then after the doors were complete I used the same brown as the window and floor trim to paint the underside of the upper cabinets. We chose not to strip the paint and stain this area because 1) it was an awkward area to reach and 2) you can't really see it so why spend all that time (it would have taken several days of paint stripping). The original white paint on the underside really stood out compared to the finished dark uppers:

Preparing to paint
After painting

You can tell it's paint if you look closely, but at a glance or while seated at the dining table it looks similar enough to the stain to pass. Either way it's much better than the original white. It's a little sloppy along the wall, but that will eventually be covered by a new backsplash, one which will go all the way up to the cabinets instead of stop a few inches below.


We also had to decide what to do with the trim around the cabinets. It was white, which might have been okay to leave as is since it matched the ceiling, except that the paint remover used on the cabinets leached over in some areas, which created some discoloration and crackling. After discussing a few options we simply decided to paint that trim the same brown as the window and floor trim, so I sanded along the whole thing to even out the areas with the crackling texture issues and painted over it.

Also painted the edge trim where it meets the wall
Due to the lights, the trim above stands out much more in the photo than it does in reality.

These are all pretty small details individually but overall they add much-needed finishing touches to the kitchen and provide cohesiveness by using the same brown for all the trim throughout the rest of the open living space. In fact, a few months back I similarly painted the trim above the fireplace because it looked funny as a bright white, but we opted to paint the trim to each side to blend with the wall color.


One final simple kitchen improvement was replacing the lighting. The original was this small, three directional halogen light. The same light was the dining room as well.


We looked around for track lighting we liked and settled on this Ikea light with five adjustable directional lamps. This helps spread light everywhere from the 'peninsula' on the left, the sink in the center, and right to the stove. Eventually we'd like to have recessed lighting, but this was a cheap way to improve lighting in the kitchen for the time being.

Friday, November 22, 2013

Dining/Kitchen Decorative Shelving Removal

The overall goal for the house is to make it feel more modern and open. One of the things we decided early on needed to happen was removal of these two rounded shelves shown below. Located on the end of what I like to call 'the peninsula,' they protruded 8 inches into the walkway between the dining room and kitchen, and we would rather have the space than the shelves. And clutter-free living means getting rid of such unnecessary areas where junk tends to collect.


In the above photo, I've already removed the metal edging from both and taken the laminate off of the bottom shelf. It's the same terrible laminate as the countertop. 

Removing these were trickier than we first thought they'd be. It turns out that the shelves were not attached independently to the peninsula, but were built-in: they were extensions of the two drawer bases on the other side. My tools for this job were a crow bar, several chisels, and a drill.

Bottom shelf gone!

First I tried just using the chisel and hammer along the peninsula, but that wasn't enough to get through the wood. I ended up having to drill holes as close as I could get to the peninsula, which means that after hammering and chiseling along the edge where I had drilled I was left with dozens of small holes I needed to fill with spackle. No problem. 

Both shelves gone!

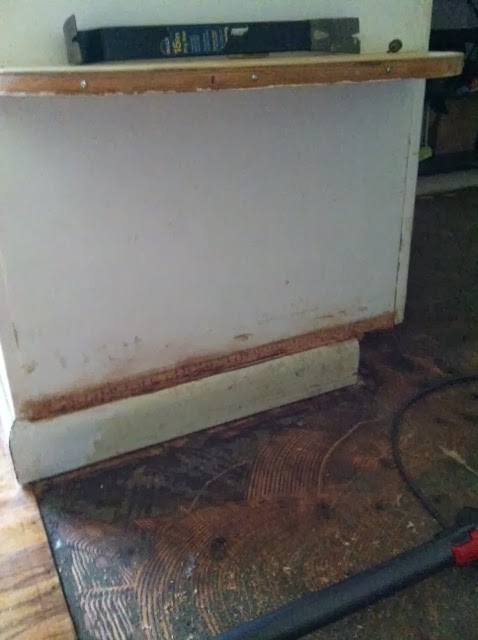
It's hard to see in the above photos, but they actually cut out the upper area of the trim to fit under the bottom shelf. When I filled the gouges with spackle, I also carefully sculpted spackle onto the trim to make it look like it was whole across the whole section. It may have looked ok uneven, but if I'm going to do all this work, I might as well do it right.

The last thing that needed to be done to get the true feel of the final dining/kitchen layout was cutting back the rounded countertop edge above where the shelves used to be. When we replace the countertop, we are only going to have the edge extend about an inch or so, whatever is standard. Below is where I drew a line and cut the counter top with a circular saw. After removing ~7 inches from the end of the counter, I was able to move the refrigerator over because the door was now free to open entirely without hitting it.

Notice the new floor!
With a single coat of paint on and the shadow of the counter top gone, I could more easily see where I still needed to fill and sand again, so I did that:


And then painted another few coats to finish both the upper section and the trim:


So much better than the original! Nick still needs to write his kitchen floor post, but you can see above what that looks like. And you can see a sneak peak at what the cabinets are looking like now compared to below...


Thursday, August 1, 2013

And Even More Painting...

I'm combining the rest of the painting into a single post. We spent four days painting both walls and trim and finished everything except Nick's studio/guest bedroom. Sanding and refinishing the floors took priority after Thursday since we absolutely need that done before moving things in and were running out of time.

Before and after photos:

Kitchen - before

I pulled the stove (which we are replacing) away from the wall, cleaned and then painted several coats. The large wall on the right was mostly finished on the last trip so I continued painting down the hallway. I removed the ugly yellow cabinet doors and the kitchen is looking better already. I also removed all of the bedroom and closet doors to paint the trim and just left them off since we are going to replace all of the interior doors with slab doors finished with a walnut stain. No more paneled, two-toned doors!

Kitchen and hall after paint

In this photo you can see the finished hallway and some of the finished bedroom. This is the second coat of polyurethane on the floor, and it looks even better with the third and final coat. More on that later!

Hall and bedroom after paint (and floor - 2 coats)

This is a darker shot because the shades are down, but you can kind of see that the room was a light blue with white trim.

Bedroom before

Here is the after shot with the new wall and trim paint. I also painted the window trim the same color and it looks much nicer with the shades, which are an off-white. Again with the second floor coat.

Bedroom after paint (and floor - 2 coats)
Here is a before shot of the hall closet. Same yellow as the kitchen cabinet doors and the rest of the hallway.

Hall closet before
I painted throughout the entire hallway, again including all of the trim for a very modern, monochromatic look. The room on the left is the same color as the hallway, but it looks a little different in the photo because of the difference in the light between the rooms. The handle on the upper door still needs to be reattached, and the room to the right is the last that needs to be painted.

Hall closet after

Tuesday, July 30, 2013

Living & Dining Baseboard and Window Trim Finished


On our previous visit in June, Nick test painted a section of trim and started preparing to paint the rest --including the trim in and around the large windows in the living and dining rooms-- to finish during the July trip.

Neither of us are fans of painting wood, but covering the white with brown was our compromise to get the architectural effect of wood without the pain in the ass that would be sanding/staining or just pulling up and replacing the trim altogether. Not to mention maybe having to deal with lead paint. 

Here is Nick using his new electric sander to smooth some of the areas on the trim: 
Sanding in preparation for painting

Half done with the first coat

Final paint and trim in living room (with sanded floors-more on that later)

Final paint and trim in dining are (with finished floors-more on that later)
The brown really draws attention to the windows, which along with the fireplace are the major focal points of the living and dining rooms that we wanted to highlight. We are incredibly pleased with both the wall and trim color and how the rooms really feel tied together now.

We'll need to do some trim touch up work after sanding and varnishing the floor, but that won't take long. And we only painted the trim brown in the living room, dining area and kitchen. The hall and bedrooms have trim painted the same as the walls, an idea that we saw and loved in one of the houses on this year's SLC Modern Mid-Century House Tour.


More Painting...

After spending one weekend of the past three months in Portland working on the house, we planned a week-long vacation for end of July to have some fun and finish everything we wanted done before the move, which will likely be in September. Since we took a full week off, we decided to drive and take a second car-full of stuff we won't need for these final few months in Salt Lake City.

I started where I left off: dining room. Below was the island "as is," which was just white and dirty. I removed the door, handle, and hinges and painted the area with several coats of the same "Soft Suede" as the rest of the dining room/living room.

Before

After paint, but before brown trim

Door reattached and a first coat of brown trim down, with bonus shirtless Nick
I'll probably have to do some touch up painting underneath the counter top once that has been ripped up and replaced, which we'll do soon after we are living there full time. We haven't decided yet on a counter material, but color will be basic black.

It's hard to tell but I did not paint the end of the island where those weird rounded shelves are because those are going to be removed. Once gone and any damage patched and sanded, the plan is to paint the end the same color as the rest of the island. Removing those shelves and stopping the new counter top where the island ends will open the area and give us more space for moving between the dining room and kitchen.

Tuesday, July 2, 2013

Living Room Paint-over, Part II

Over the weekend of June 21-23 we were able to meet our goal of finishing the paint job in the living room and dining room plus the large kitchen wall. Nick even started painting the trim brown to see how we like it. 


Looking into the finished living room from the dining room
Painting also complete in dining room in this view from kitchen

Nick starting the trim on a small space to make sure we like it before continuing

Tuesday, June 11, 2013

Living Room Paint-over, Part I

Sunday of Memorial Day weekend was a little cooler and rainy, so we moved inside to start painting. Here is the original blue surrounding the fireplace. There was an even darker blue in the dining room so both areas needed priming. We're going with a lighter wall color to make the rooms feel bigger, and the plan for the baseboard trim is to paint it with a to-be-determined shade of brown. We'll also be painting the window trim to match. With brown trim inside and out and frosted glass for privacy, the large front window will eventually resemble a shoji screen.

The original wall color around the fireplace


Nick prepping to prime. The large yellow wall on the left was my project, no priming required.

 Nick painted the entire west wall and dining room with the gray primer.
We loved the Behr 'Soft Suede' color in our current place so much that we wanted to keep it as the primary color for the main living space in the new house. Maybe even the entire thing. We had some leftover, so I selected the wall space I thought I could cover with the amount of paint available.

The finished wall
After completing the large wall, I went for the smallest area next to be sure I could finish it with the remaining paint. Nick's primer had dried already since that's the wall where he started. Also I figured better to use it on an isolated section in case the next gallon doesn't match exactly.


Done! Next visit: get another gallon and finish the living and dining rooms.