
This would be a good place to point out the old faucet in the above photo as well, which Nick changed out on our first weekend at the house back in April (2013).
 |
| Old faucet removed |
 |
| New faucet installed. Planning under-mount sink with new counter |
Back to the kitchen window area. After removing the cabinet base paint and completing the stain and varnish, I painted the wall above the sink and around the window using the same 'Soft Suede' color as the rest of the kitchen and house. Then I painted the kitchen window trim with the same brown we used on the large living and dining room windows:
 |
| We also permanently removed the blinds shown in the original photo at the top of this post |
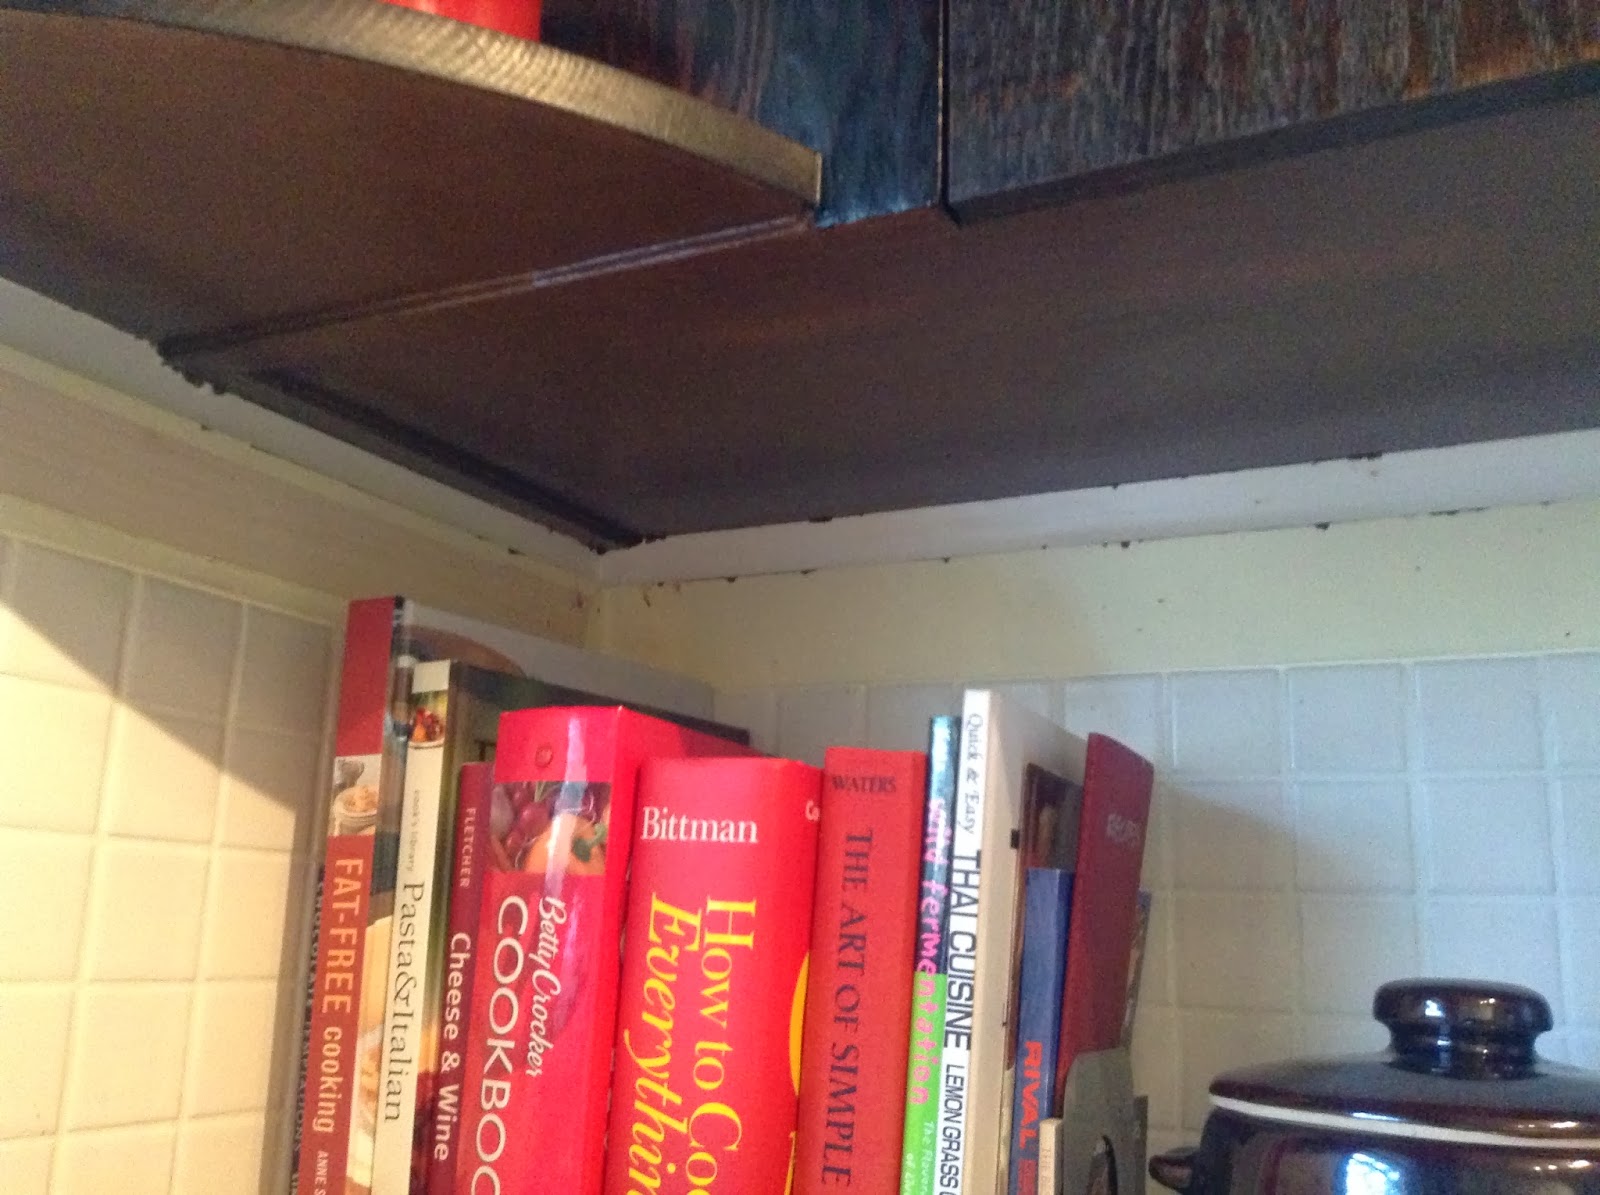
Then after the doors were complete I used the same brown as the window and floor trim to paint the underside of the upper cabinets. We chose not to strip the paint and stain this area because 1) it was an awkward area to reach and 2) you can't really see it so why spend all that time (it would have taken several days of paint stripping). The original white paint on the underside really stood out compared to the finished dark uppers:
 |
| Preparing to paint |
 |
| After painting |
You can tell it's paint if you look closely, but at a glance or while seated at the dining table it looks similar enough to the stain to pass. Either way it's much better than the original white. It's a little sloppy along the wall, but that will eventually be covered by a new backsplash, one which will go all the way up to the cabinets instead of stop a few inches below.
We also had to decide what to do with the trim around the cabinets. It was white, which might have been okay to leave as is since it matched the ceiling, except that the paint remover used on the cabinets leached over in some areas, which created some discoloration and crackling. After discussing a few options we simply decided to paint that trim the same brown as the window and floor trim, so I sanded along the whole thing to even out the areas with the crackling texture issues and painted over it.
 |
| Also painted the edge trim where it meets the wall |
These are all pretty small details individually but overall they add much-needed finishing touches to the kitchen and provide cohesiveness by using the same brown for all the trim throughout the rest of the open living space. In fact, a few months back I similarly painted the trim above the fireplace because it looked funny as a bright white, but we opted to paint the trim to each side to blend with the wall color.

One final simple kitchen improvement was replacing the lighting. The original was this small, three directional halogen light. The same light was the dining room as well.


We looked around for track lighting we liked and settled on this Ikea light with five adjustable directional lamps. This helps spread light everywhere from the 'peninsula' on the left, the sink in the center, and right to the stove. Eventually we'd like to have recessed lighting, but this was a cheap way to improve lighting in the kitchen for the time being.
No comments:
Post a Comment